How to use the gallery wall planner
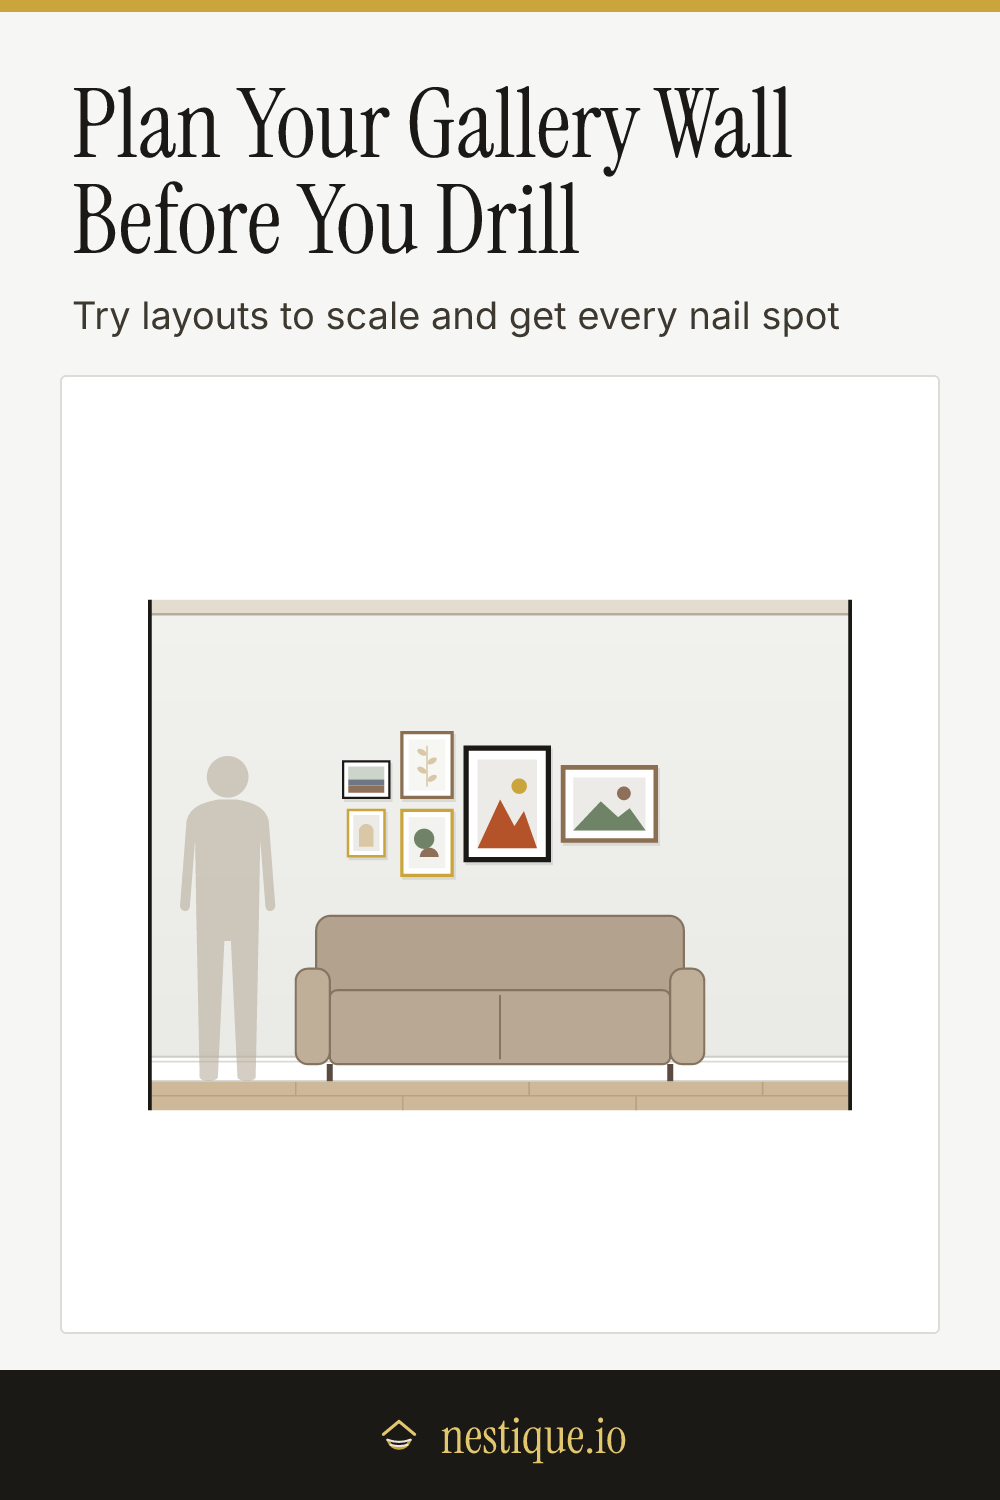
Pick a layout at the top: salon, grid, row or staircase. The planner arranges your frames in that layout, sets the spacing, and hangs the whole group at the right height on a wall drawn to scale.
Set up the wall below the drawing. Enter the wall width and ceiling height, then choose whether the group hangs over a sofa or on an open wall. On an open wall you can set the center height yourself. Choose the space between frames and how far the nail sits below the top of your frames. Type sizes the way you would write them (12’ or 144 in), or tap the minus and plus buttons. Switch to centimeters with the unit toggle if you prefer.
Add frames with the size buttons, from 5 x 7 up to 24 x 36. Flip the portrait and landscape switch first if you want them sideways. For anything else, enter a custom size. Use the outside size of the frame, not the size of the photo.
To fine-tune, tap a frame. Then use the arrow pad to move it (1 inch, 4 inches or a foot at a time), turn it, swap it with another frame, or delete it. On a computer you can drag frames too. The gaps next to the selected frame show on the drawing, and the panel below lists where to hang every frame. Save the plan as an image and take it to the wall with your tape measure.
The rules behind the layout
These come from designers and galleries. None of them is a law, but together they are why some gallery walls look planned and others look scattered.
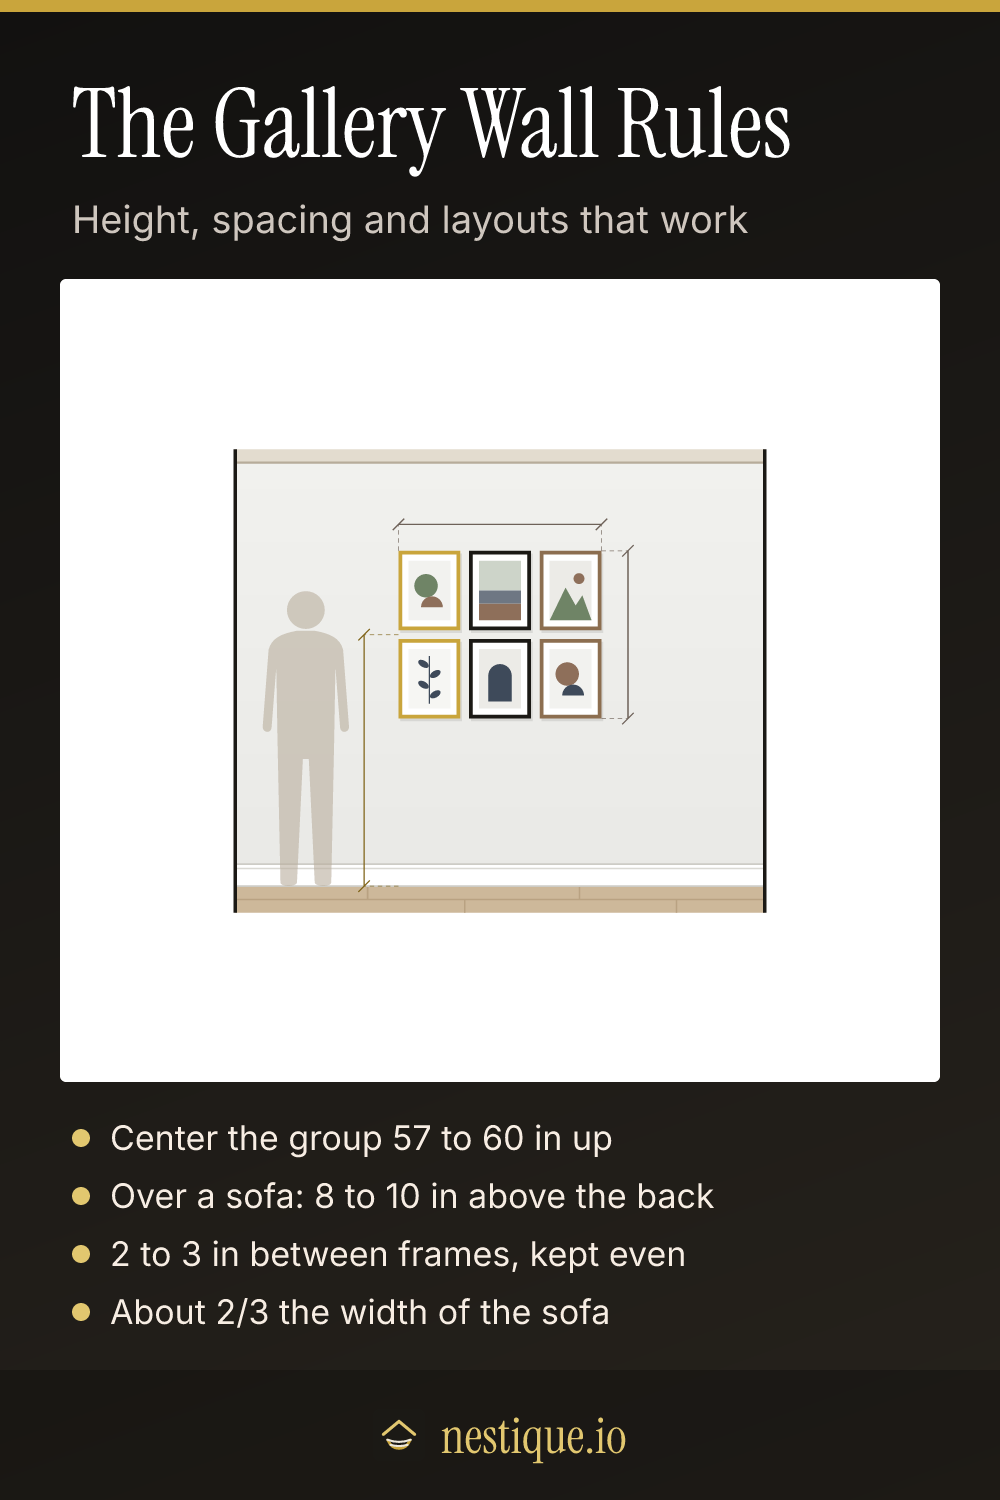
Center at eye level. Hang the middle of the whole group 57 to 60 inches from the floor. Many galleries and museums use 57 inches. The mistake almost everyone makes is hanging art too high.
Over furniture, anchor to the furniture. Over a sofa or console, the bottom of the group sits 8 to 10 inches above it. Anything from 6 to 12 inches can work. The group should be about two-thirds of the furniture’s width or a bit more, and a little narrower than the furniture.
Keep the gaps tight and even. Two to three inches between frames holds the group together. Big frames can take 4 inches. Even gaps matter more than anything else, and they matter most in a salon layout, where the frame sizes vary.
Use a center line. The salon preset works the way many designers hang a mixed group. The largest frame sits across an invisible horizontal line. The other frames sit just above or just below the line, in columns, so the edges along the middle stay straight even when the outer edges don’t.
Stairs climb with the stairs. The staircase preset steps each frame up at the slope of a typical stair, about 7 inches up for every 11 inches across.
Assumptions
Frame sizes are outside dimensions. A frame sold for an 8 x 10 photo is usually a couple of inches bigger all round, especially with a mat, so measure yours.
The sofa is 84 inches wide with a back 34 inches high. Measurements to hang each frame run from the left end of the wall you entered and up from the floor. The nail position assumes one nail at the center of the frame, a set distance below the top. For a sawtooth hanger that is about 1/2 inch. For a wire, pull it up taut and measure. For wide frames, two nails are steadier. Space them evenly either side of the center mark.
Floors and ceilings aren’t always level. Use a level, not just the tape, when you mark a row.
Worked example
Say the wall is 12 feet wide, with an 84 inch sofa against it. The frames are one 18 x 24, two 11 x 14s, an 8 x 10, a 10 x 8 turned landscape, and a 16 x 20 turned landscape. Spacing is 2 inches.
- Salon layout. The 18 x 24 goes in the middle. The two 11 x 14s stack in a column to its left, with the two small frames in a column beyond them. The 20 x 16 balances the right side. The group comes out 65 inches wide and 30 inches tall, with gaps of 2 to 3 inches.
- Height. The bottom sits 8 inches above the sofa back, at 42 inches. That puts the center at 57 inches, right at eye level.
- Hanging the big frame. Its left edge is 5 feet 4 1/2 inches from the left end of the wall and its top is 5 feet 9 inches up. With the wire 2 inches below the top, the nail goes 6 feet 1 1/2 inches from the left and 5 feet 7 inches up.
Switch the same frames to a single row and the group stretches to 88 inches, wider than the sofa. The planner flags it, which is a good reason to stick with the salon or a grid here.
Pin it for later
Gallery Wall Planner FAQ
How high should a gallery wall be hung?
On an open wall, put the center of the whole group 57 to 60 inches from the floor. That is average eye level, and it is the height many galleries use. Over a sofa, hang the bottom frames 8 to 10 inches above the sofa back instead.
How far apart should frames be on a gallery wall?
Two to three inches between frames is the usual choice. It keeps the group reading as one piece. Larger frames can go to 4 inches. Keep the gaps the same all through the group, even in a loose salon layout.
How wide should a gallery wall be over a sofa?
About two-thirds of the sofa width or a bit more, and a little narrower than the sofa itself. Over an 84 inch sofa that means roughly 56 to 80 inches across.
How do I hang a gallery wall without lots of extra holes?
Plan it here first, then cut paper templates the size of each frame and tape them to the wall. Mark the nail spot on each template, using the distance from the top of the frame to the hanger or the pulled-up wire. Nail through the paper, tear it away and hang the frame.
What is a salon-style gallery wall?
A cluster of mixed frame sizes packed fairly close together, often with a large piece near the middle. It looks collected over time. The trick is an invisible center line: frames sit just above or just below it, with the same gap everywhere.