How to use the tile layout planner
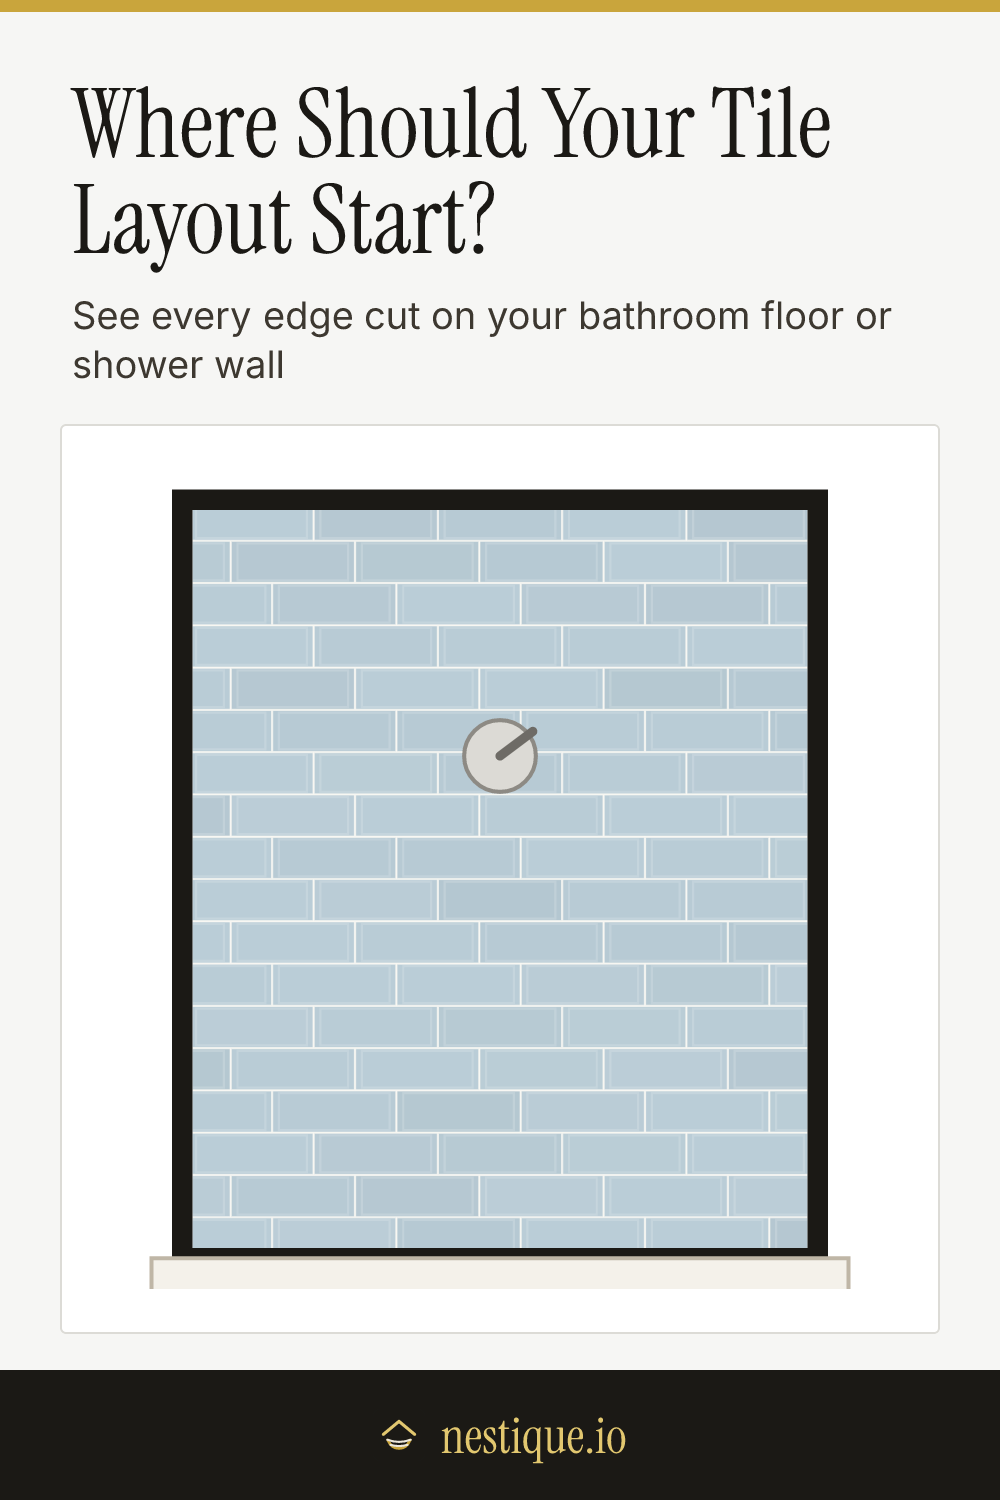
First choose the surface: a bathroom floor, drawn from above, or a shower wall, drawn straight on with the valve and shower head for scale.
Then set up the tile:
- Tile size. Pick a size as it will be laid, width first. A 24 x 12 tile runs long side across; a 12 x 24 tile would stand on end.
- Pattern. Stacked lines every joint up. A 1/2 offset is the classic brick look. A 1/3 offset staggers each row by a third of a tile. Herringbone is available for rectangular tiles.
- Start the layout. “From a wall” puts a whole tile in the far left corner of a floor, or a whole row on the tub of a shower wall. “Centered” puts a tile in the middle of the space. “Balanced” tries a tile and a grout joint on the center line and keeps whichever leaves bigger cuts.
- Grout joint and colors. Joint widths run from 1/16 to 1/4 inch. The tile and grout color are for the picture.
- Size. Enter the floor’s width and length, or the wall’s width and height, in feet and inches or centimeters.
The drawing tints every cut tile, and slivers show in red. The labels around the edge give the cut at each side. The result lists the tiles per row, the number of rows, whole and cut tiles, and how much tile to order. Save the layout as an image to hand to your installer.
The rules behind a good layout
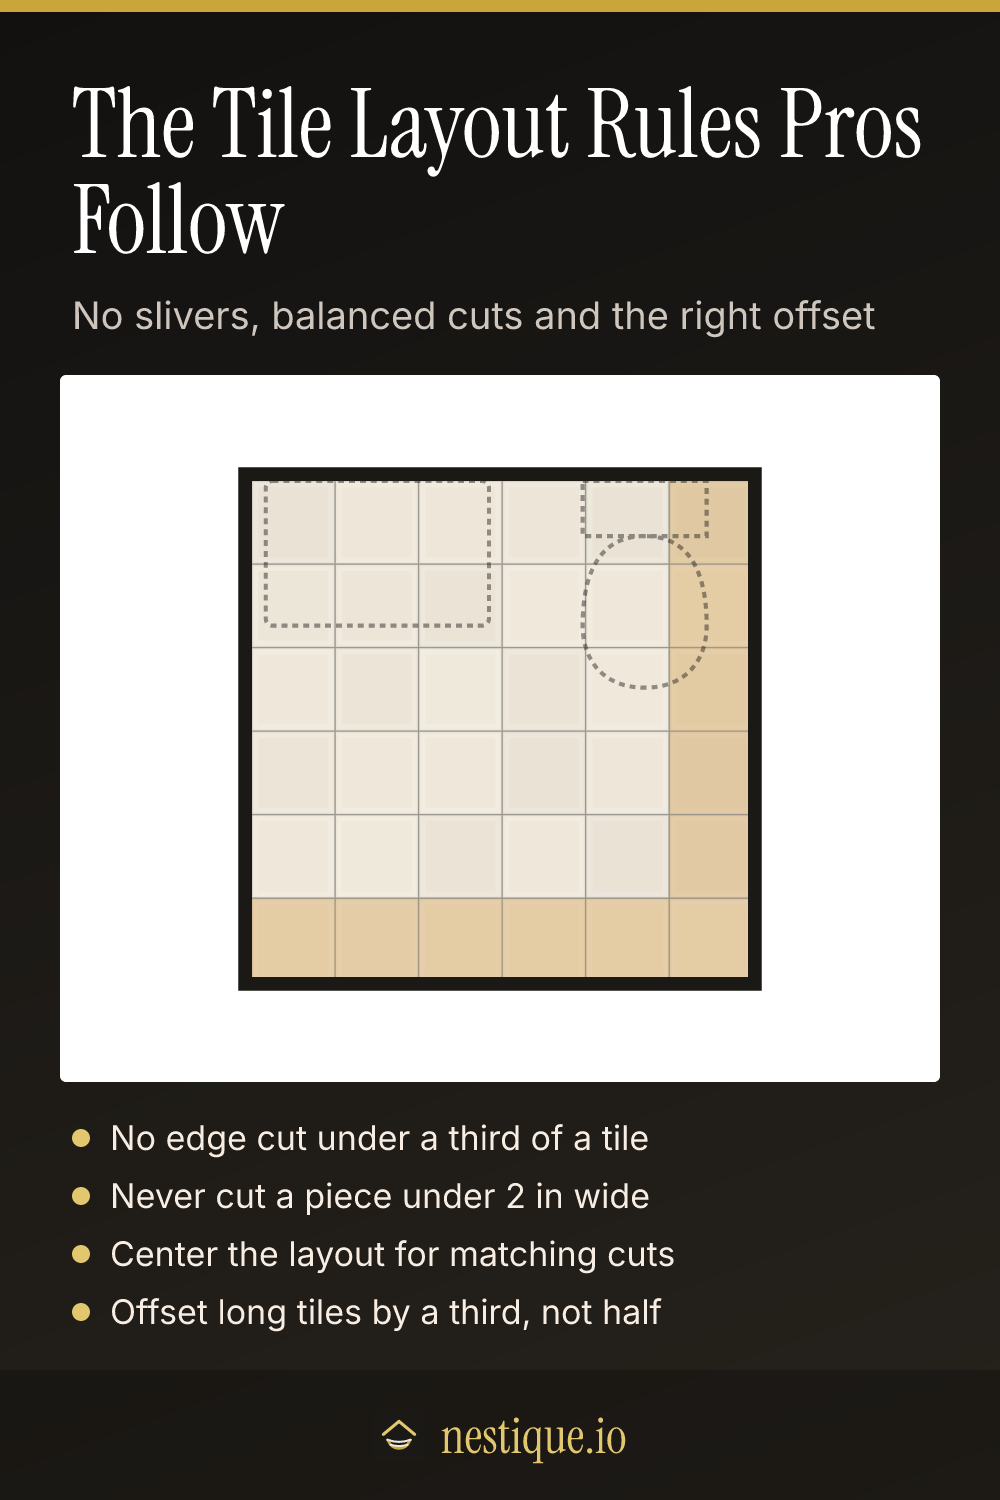
No slivers. An edge cut should be at least a third of a tile and never under 2 inches. Thin strips are hard to cut without chipping, they crack under load and they make the room look out of square. When the planner finds one, it says where, and suggests a starting point that avoids it if there is one.
Balance the cuts. In a room that people see from the middle, equal cuts on opposite walls look intentional. Centering a tile or a joint on the center line does that. The balanced option picks the one with bigger edge pieces.
Lead with whole tiles where people look. On a shower wall, the first row on the tub should be whole. On a floor, the wall opposite the door is the one you see first. Starting from that wall keeps it whole and pushes cuts to the less visible side.
Limit the offset on long tiles. Long tiles have a slight bow from the kiln. The industry installation standard says that when the offset side is longer than 18 inches, the offset should be no more than a third, unless the maker says otherwise. Otherwise the high middle of one tile sits next to the low ends of the next.
Order extra. Allow 10% for stacked and offset layouts and 15% for herringbone.
Assumptions
The floor or wall is a clean rectangle. The planner does not model the toilet flange, the drain, a niche or a door threshold. Cut around those on site, and keep a few spare tiles for them. The vanity and toilet outlines on the floor are only there for scale.
Edge cuts are measured from the wall to the tile with no gap at the wall. In practice installers leave a small movement joint at the perimeter that the baseboard or caulk covers. That makes little difference to the cut sizes shown.
In offset layouts, each row shifts, so the planner reports the smallest cut at the left and right across all row types.
Worked example
Take a 5 x 8 foot bathroom floor with 12 x 24 inch tile laid long side across, stacked, with 1/8 inch joints.
- From a wall: each row is 3 tiles, with a whole tile on the left and an 11 3/4 inch cut on the right. There are 8 rows, the last cut to 11 1/8 inches. That is 14 whole tiles and 10 cut ones, with no slivers.
- Centered: the left and right cuts become 17 7/8 inches each, but the far and near walls drop to 5 1/2 inch strips and there are 9 rows.
- Balanced: the sides stay at 17 7/8 inches and the ends grow to about 11 5/8 inches, across 8 rows.
Now switch to a 1/3 offset from the wall. One row type ends in a 3 3/4 inch piece on the right, under a third of the tile, and the planner flags the sliver.
Every version covers 40 square feet. With 10% extra, order 44 square feet, which is 22 tiles of 12 x 24.
Pin it for later
Bathroom Tile Layout Planner FAQ
Should I start tiling from the center or from a wall?
Start from the center when the room is in plain view and both sides should match. Start from a wall when that wall is long, straight and the first thing you see, such as the wall opposite the door. The planner shows both, and the balanced option picks whichever centering gives the larger cuts.
What is a sliver in tiling?
A sliver is a cut piece so narrow that it looks like a mistake and tends to crack or come loose. A common rule is to keep every edge cut at least a third of a tile and never under 2 inches. Shifting the layout by half a tile usually fixes it.
What grout joint should I use for floor tile?
Rectified porcelain is often set with a 1/16 or 1/8 inch joint. Most floor tile uses 1/8 to 3/16 inch, and handmade or uneven tile can need 1/4 inch. The joint should never be under 1/16 inch.
Can I use a half offset with 12 x 24 tile?
It is not recommended. Long tiles have a slight bow, and a half offset lines up the high middle of one tile with the low ends of the next. For tiles longer than 18 inches, offset by a third or less unless the tile maker says otherwise.
How many tiles do I need for a 5 x 8 bathroom floor?
A 5 x 8 foot floor is 40 square feet. Add 10% for a stacked or offset layout and you need 44 square feet, or 22 tiles of 12 x 24. Herringbone needs about 15% extra instead.